🔌 How to Flash Raspberry Pi OS Lite and Set Up Headless SSH (macOS)
A step-by-step guide to flashing Raspberry Pi OS Lite and enabling headless SSH access from macOS—perfect for Docker labs, homelabs, and remote setups.

If you're getting ready to run a project on your Raspberry Pi - home automation project, or just want a clean headless Raspberry Pi setup, this guide will walk you through flashing Raspberry Pi OS Lite (64-bit) onto a microSD card using Raspberry Pi Imager on macOS. We'll also enable SSH and Wi-Fi (or Ethernet) so you can boot the Pi without a monitor, keyboard, or mouse.
✅ You need only:
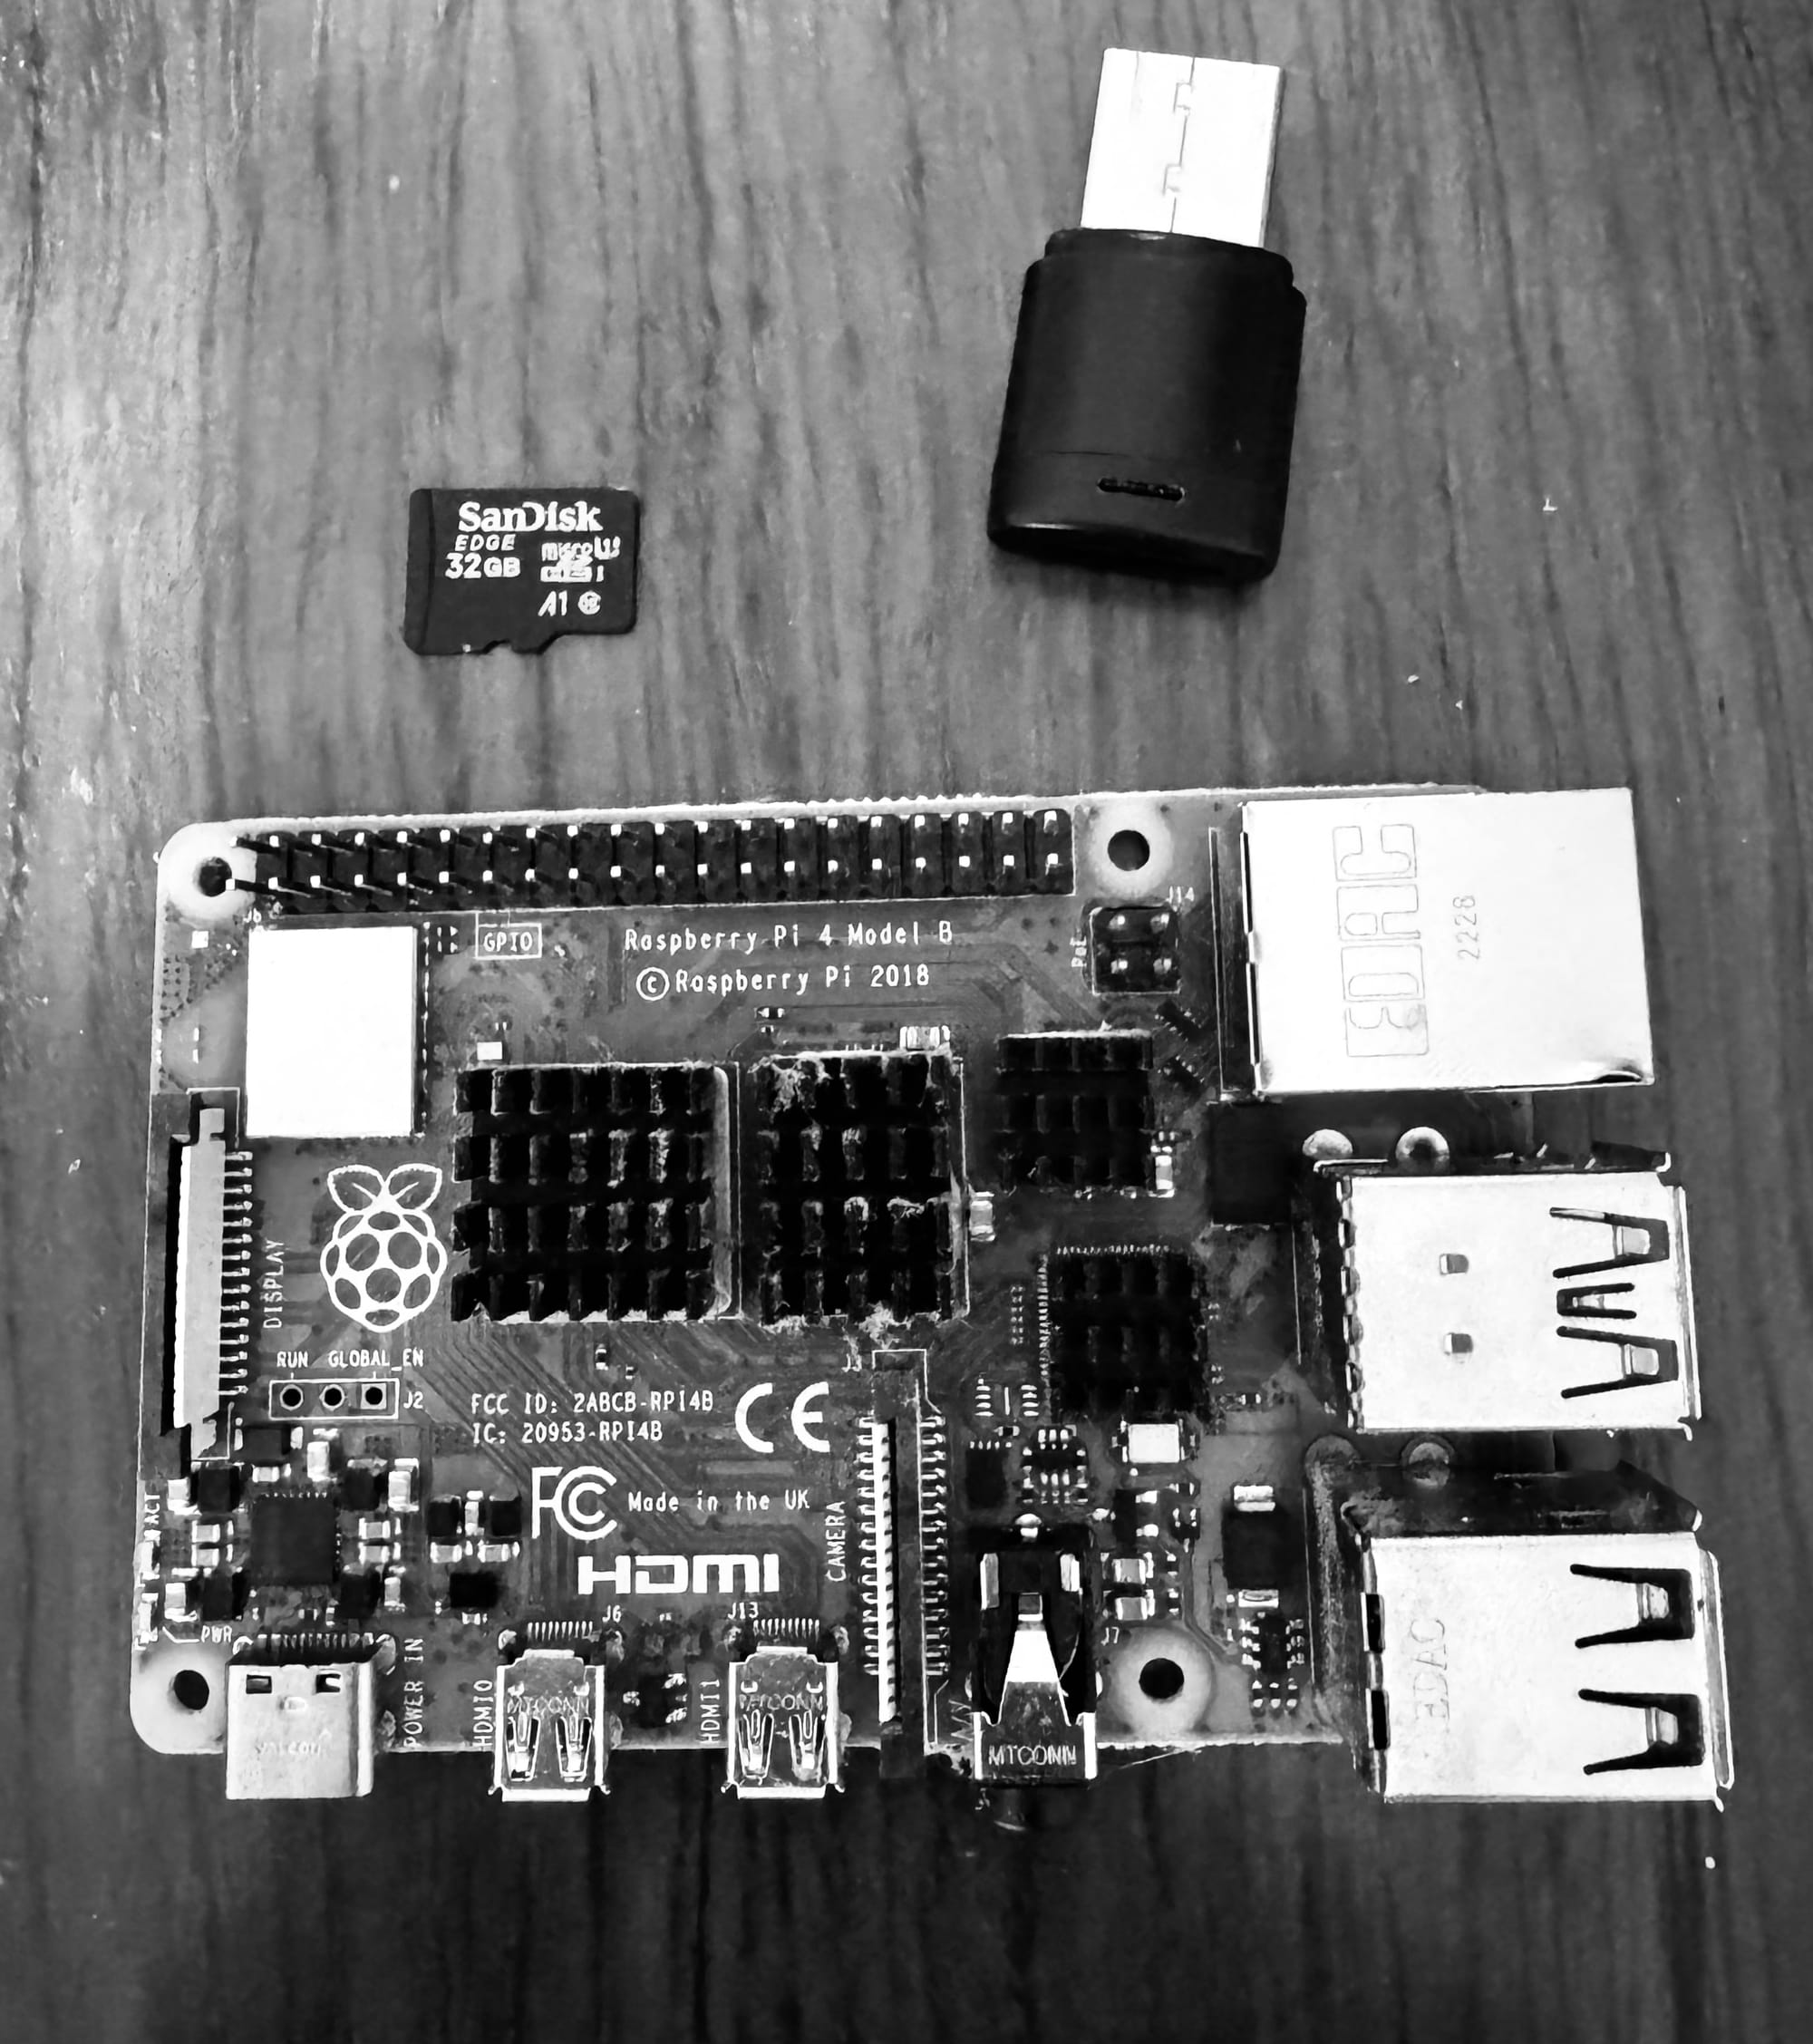
- A Raspberry Pi (any model works— I’m using a Pi 4B) (✔️)
- Power source for the Pi (✔️)
- SD card (Mine is 32GB — smaller or larger works) (✔️)
- microSD card adapter (USB or built-in reader) (✔️)
- Ethernet or Wi-Fi (✔️)
- A Mac or PC (I'm using a Mac) (✔️)
📥 Step 1: Download and Install Raspberry Pi Imager (macOS)
- Visit: https://www.raspberrypi.com/software
- Download the version for macOS
- Open the
.dmgand drag the Raspberry Pi Imager to Applications. - Launch Raspberry Pi Imager.
💾 Step 2: Insert and Detect the microSD Card
Insert the microSD card using your adapter. It should show up in the storage list in Raspberry Pi Imager.
⚠️ Important: Double-check the selected storage device — this process will erase the SD card completely.
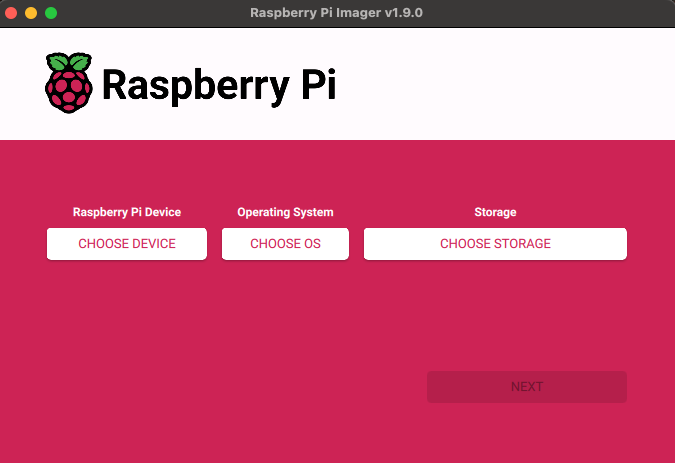
🧠 Step 3: Choose Device, OS & Storage
- Click “CHOOSE DEVICE” and select your Raspberry Pi model
- Click “CHOOSE OS” →
Raspberry Pi OS (other)→Raspberry Pi OS Lite (64-bit) - Click “CHOOSE STORAGE” and select your SD card
- Click "NEXT"
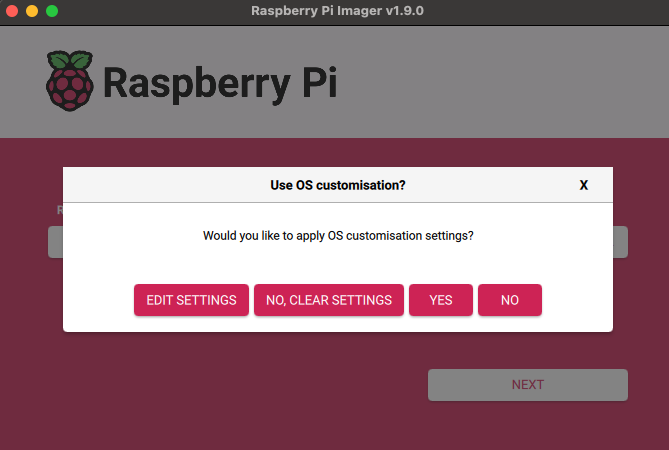
🛠️ Step 4: Configure Headless Settings and Flash SD Card
Click "EDIT SETTINGS"
🔷 General Tab:
- ✅ Set hostname (e.g.,
pi-docker) - ✅ Set username and password (e.g.,
pi/yourpassword) - ✅ Configure Wi-Fi (optional if using Ethernet)
- ✅ Set locale (keyboard, time zone, language if needed)
🔷 Services Tab:
- ✅ Enable SSH
- ✅ Use password authentication (or SSH key if preferred — we’ll use password for now)
🔷 Options Tab:
Leave defaults for now.
✅ Eject media after writing
✅ Enable telemetry (optional)
Click “Save”, then “Yes” to confirm. You may be asked to enter your Mac’s password.
Raspberry Pi Imager will now flash and verify the OS (about 5–10 minutes). Once it finishes, it should eject the card automatically.
💥 Step 5: Boot the Pi and Connect
- Insert the flashed microSD card into your Pi
- Plug in the power and Ethernet (or just power if using Wi-Fi)
- Let it boot — give it about 30–60 seconds
🌐 Step 6: Find the Pi’s IP Address
Use one of these methods:
- Check your router’s admin page → Look for hostname
pi-dockeror similar.

pingthe mDNS name from your Mac:
ping pi-docker.local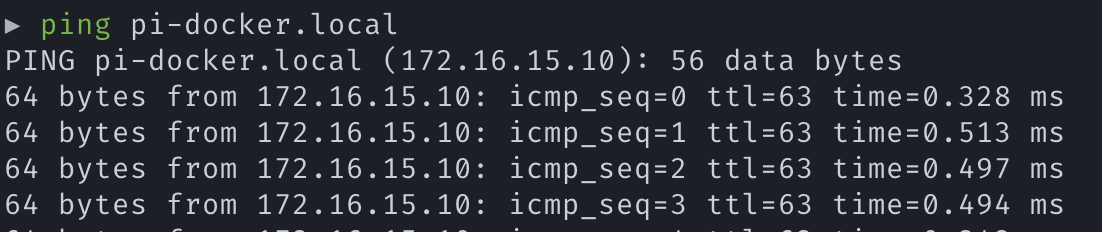
🔐 Step 7: SSH into the Raspberry Pi
SSH using the hostname:
ssh steeletekk@pi-docker.localOr use the IP address:
ssh steeletekk@172.16.15.10Accept the fingerprint if prompted. Then enter your password from the imager setup.
😬 Got This Error?
@@@@@@@@@@@@@@@@@@@@@@@@@@@@@@@@@@@@@@@@@@@@@@@@@@@@@@@@@@@
@    WARNING: REMOTE HOST IDENTIFICATION HAS CHANGED!     @
@@@@@@@@@@@@@@@@@@@@@@@@@@@@@@@@@@@@@@@@@@@@@@@@@@@@@@@@@@@
IT IS POSSIBLE THAT SOMEONE IS DOING SOMETHING NASTY!
...
Offending ECDSA key in /Users/<your-name>/.ssh/known_hosts:14
Don't worry — this just means your Pi’s SSH key changed (likely from a re-flash). Fix it quickly:
🔗 Click here for the fix
✅ That’s it — you’re now SSH’d into your headless Raspberry Pi!
You're ready to:
- Install Docker
- Sync logs or files
- Run home automation tools
- Or just start tinkering
Until next time — ☮️ out.
– Bryan